After a hectic day at work I finally can get to continue with my MG Exia! Nothing beats work blues like building Gundams. Well here we go!
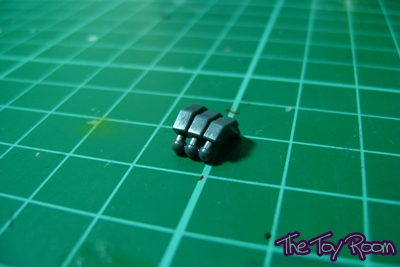
A little surgery on the hands..
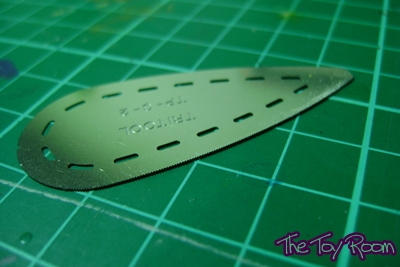
My trusty sawing tool
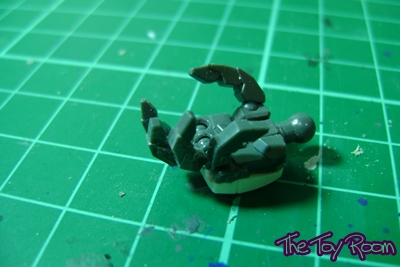
Now I have movable individual fingers!
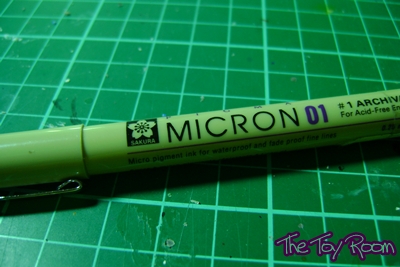
My cheap and good black panel line marker. I used this on the yellow and blue parts. Can be found at Popular Bookstores ^^
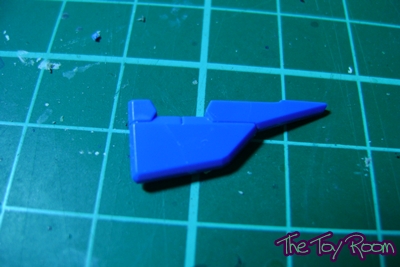
Before panel lining
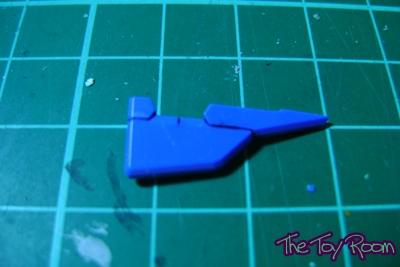
After panel lining ^^. Helps to define the armour further.
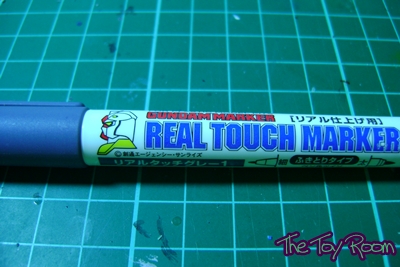
For the white parts i'll be using this. This is way better then the regular water based gundam markers. The tips don't fray that easily ^^
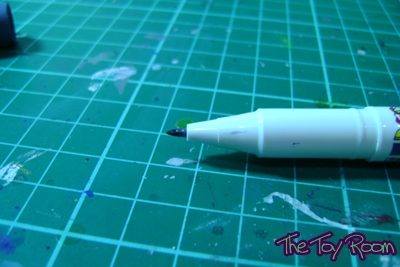
This marker comes with 2 types of tips. A small tipped one for this hard to reach places.
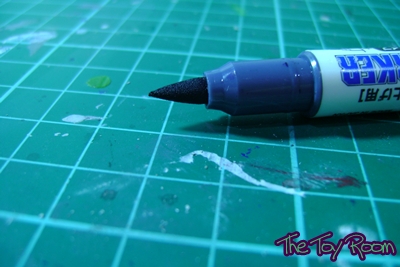
And a fat assed tip for mass panel lining

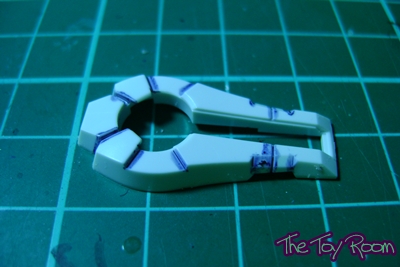
I prefer using grey marker than black for white parts. Gives a nice shading effect.
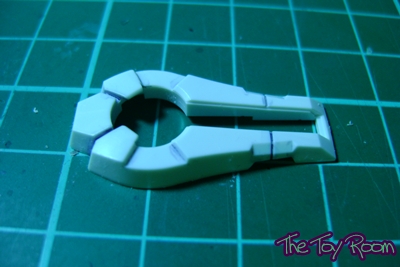
After cleaning up with tissue paper. Surprisingly for this whole kit I only need to use one piece ^^
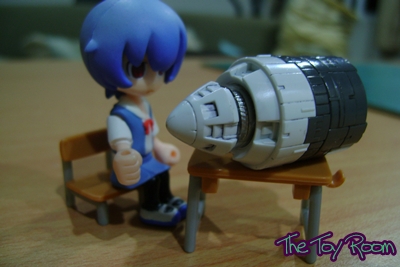
Rei toying with the GN Drive while I am panel lining..

Exia assembled!
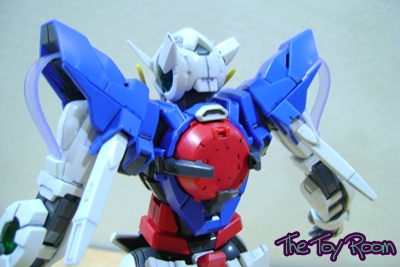
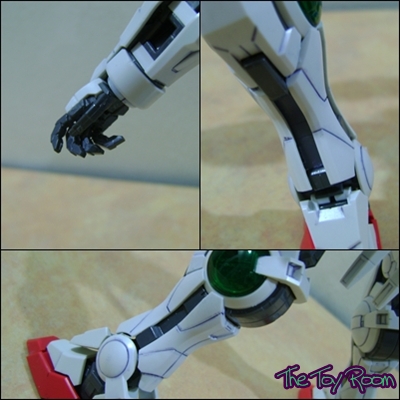
Panel lining really brings out the details.
Well at this stage after doing all the basic stuff. I’ll be disassembling the armor parts for a gloss coat for the decals, whereas the internals i will be giving them a flat coat plus silver dry brushing. I’ll also be sanding the hands to remove the mold lines! argh so many of them and also the mold lines on the gray part below the knee cap armor.
 Till the next post!
oh man, separating the fingers? thats genius! your Exia is coming along nicely.
Haha thanks! Wish I can do battle damage on my Gundam as well as you did ^^. Got to try it someday
looking good. I bought an exia ignition mode and intend to pit it in damaged form with some extras but I have no idea when I’ll actually get around doing it, with all my other projects waiting for their turn.
Heh thanks! Same here. I’ll be getting that ignition mode this weekend and do a damage repair version. But might try out some of the ‘damaging’ stuff on my old kits first ^^. Btw your collection of figures were awesome.
You’re too kind. But your kits look pretty impressive as well. Like your 0 gundam. Guess I’ll be popping in to check your progress.
Heh thanks! Its almost done, only left the flat coat and decals. Can’t wait to see your Yoko done up as well ^^.
Exia’s turning out beautifully! Can’t wait to build my own xD
Love the idea of separating the fingers by the way – more possibility for better posing. I really like how the panel lines for the white parts turn out. Hope you’ll be taking more photos of Exia once you’ve completed it. (:
Haha I definitely will take more photos ^^! Stay tune!
Hi there, mind to tell where do you get the sawing tool? cheers
I got them at hobby art gallery. Its at this building call sunshine plaza. ^^ This brand is under Hasegawa tri tools. It is actually a set which consist of other saws which I have not experimented using yet. Perhaps next time haha.
I see. thanks for the info 😉 i visit that shop on my sg trip few month ago. Saw that tools but don’t know what it use for.. haha.. now i know. Hopefully this Dec i can go again. Actually wanted to attent the Gundam Fiesta Singapore 2009 (Sept 2-14). but my leave no approve T_T
By the way, mind to add you in my blog list? Cheers
Sure thing ^^. Always good to share with another fellow gunpla collector cheers!
I’ll add you to mine too ^_^.
Hi, added you in my blog list, cheers 😉
I see, thanks for the info 😉 hopefully can go SG again on Dec.
hi.how to separate the holographic cable from its sheet?i dont bought mg exia yet,but curious to know.thanks.
The holographic cables are actually like rubber ^^ I just gently tear it out from the sheets. They are quite tough so you don’t have to worry about tearing them.